

Rigging The Robot
•
Rigging The Robot •
Rigging the robot
Starting with a commercially purchased robot model from TurboSquid that included some existing rigging, I brought the asset into Cinema 4D and developed a custom IK control setup for the legs, arms, body, and fingers.
I then manually keyframed the robot in Cinema 4D, using the IK controls to create deliberate mechanical movement while maintaining precise control over the character's performance. The final animation was lit and rendered using Redshift.
ROLE 3D Artist / Character Rigging & Animation
TOOLS Cinema 4D, Redshift
FOCUS IK Rigging, Controller Setup, Manual Keyframe Animation
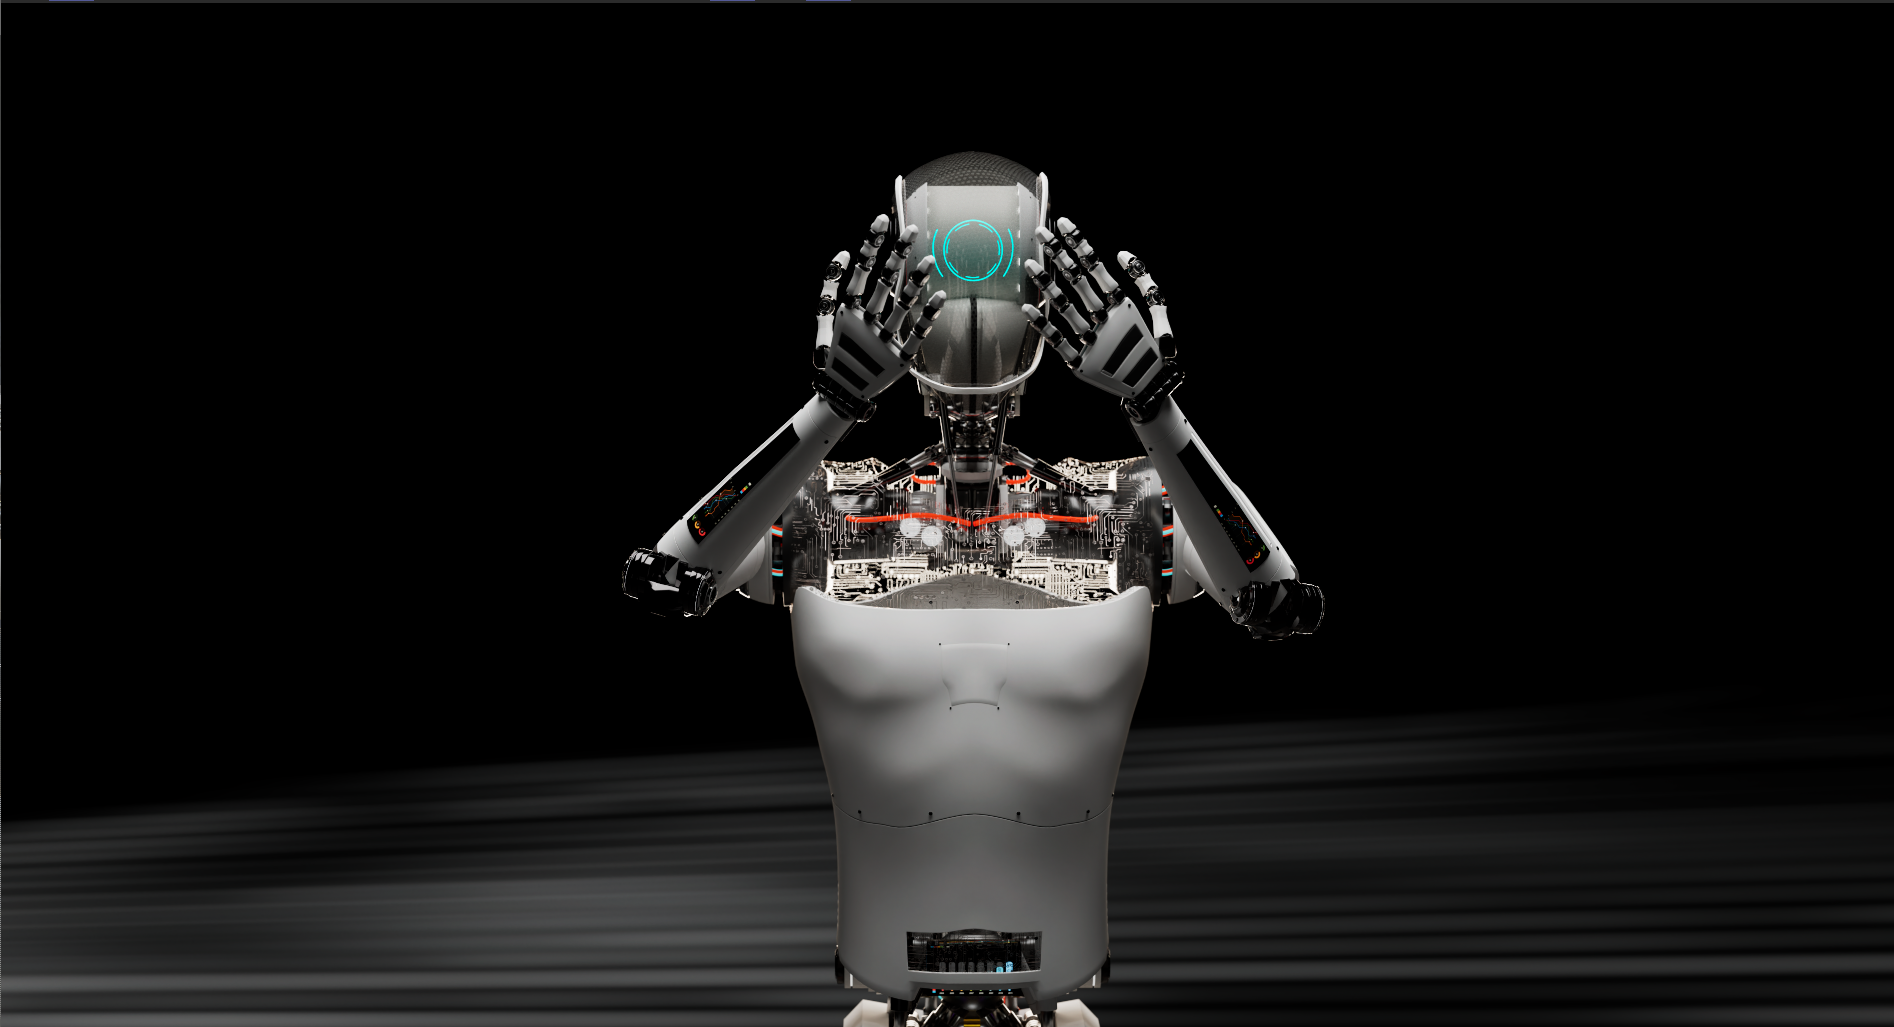
Rigging the robot
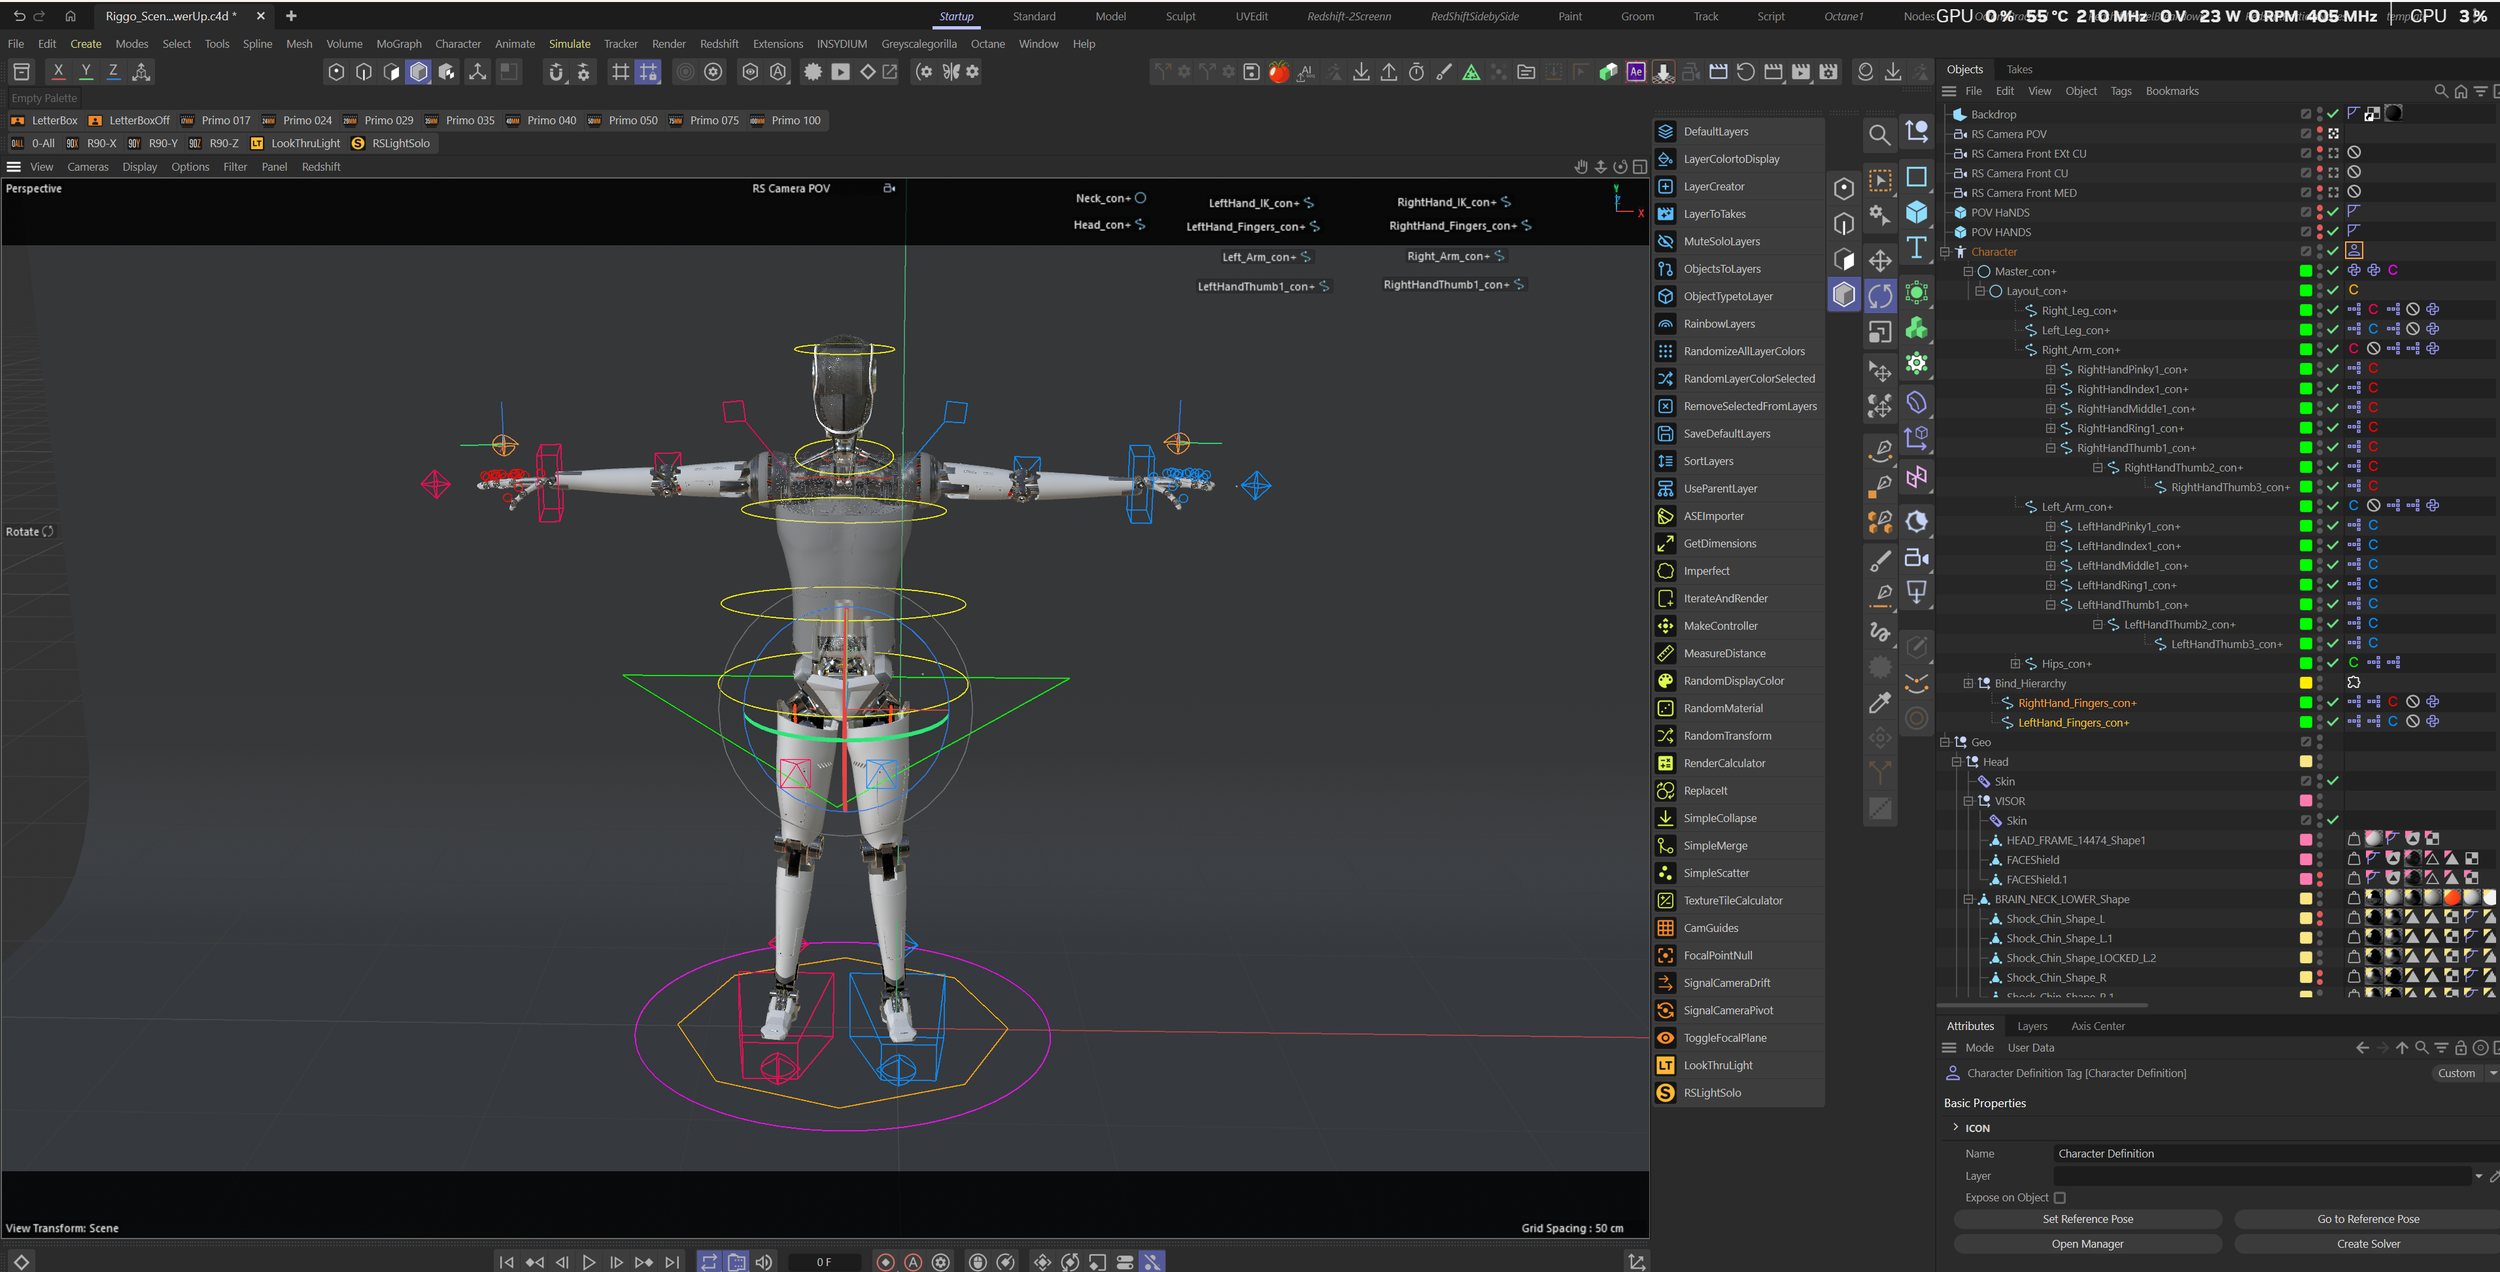
Cinema4D Character Rig - Reference Pose.
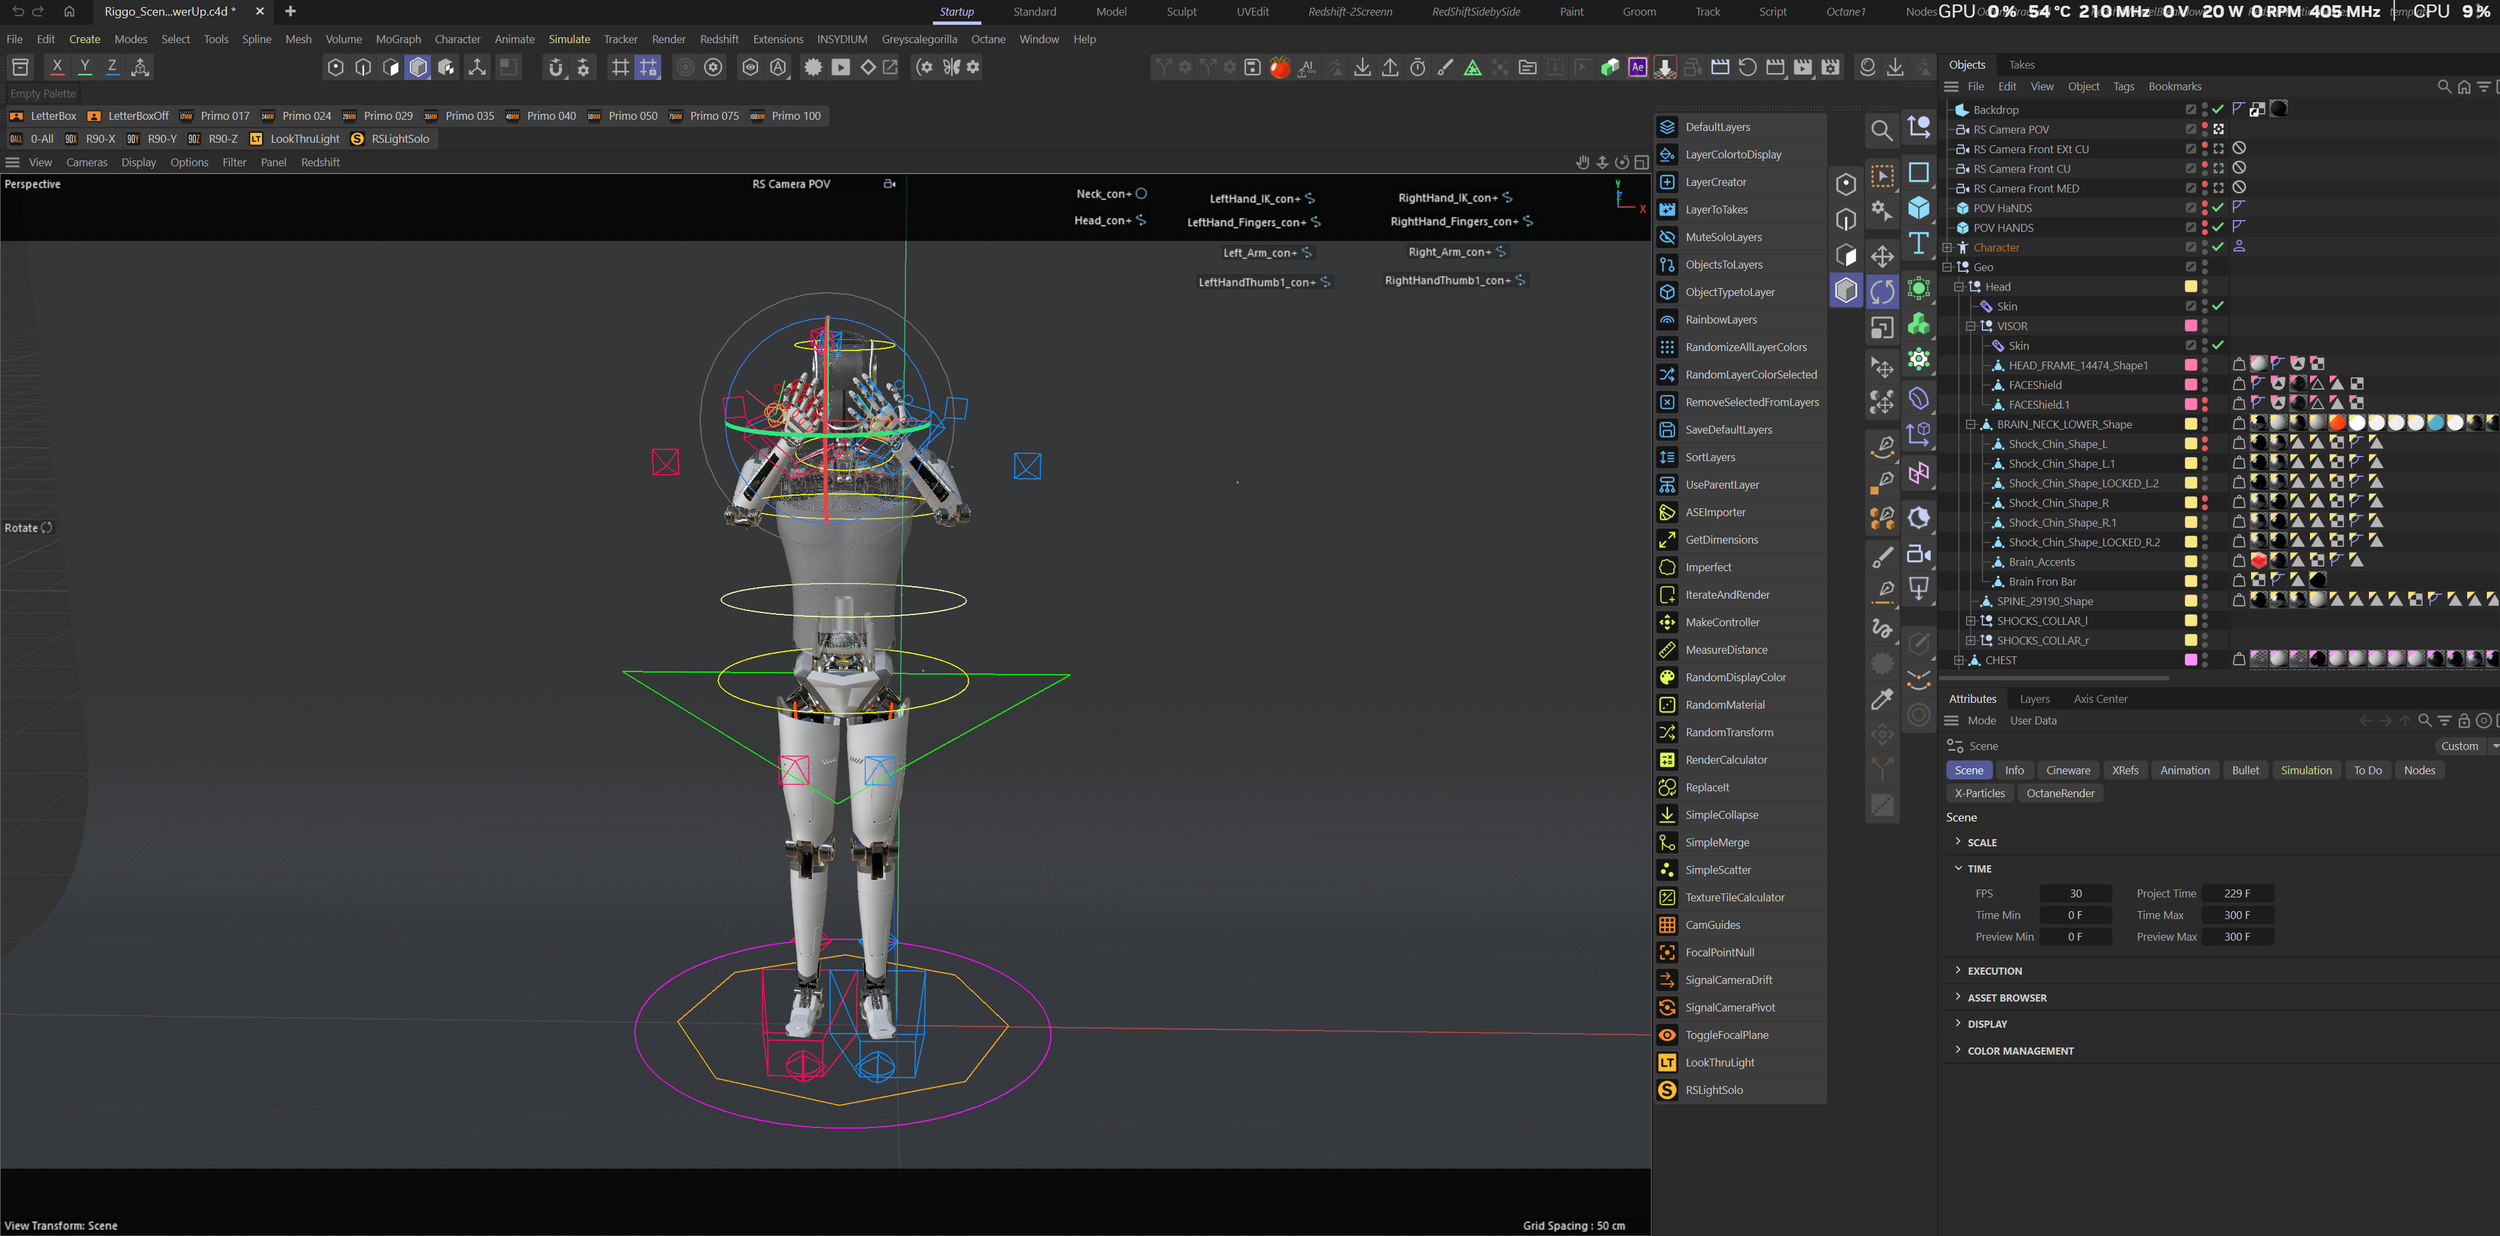
Manually creating IK controllers.
Robot animation process
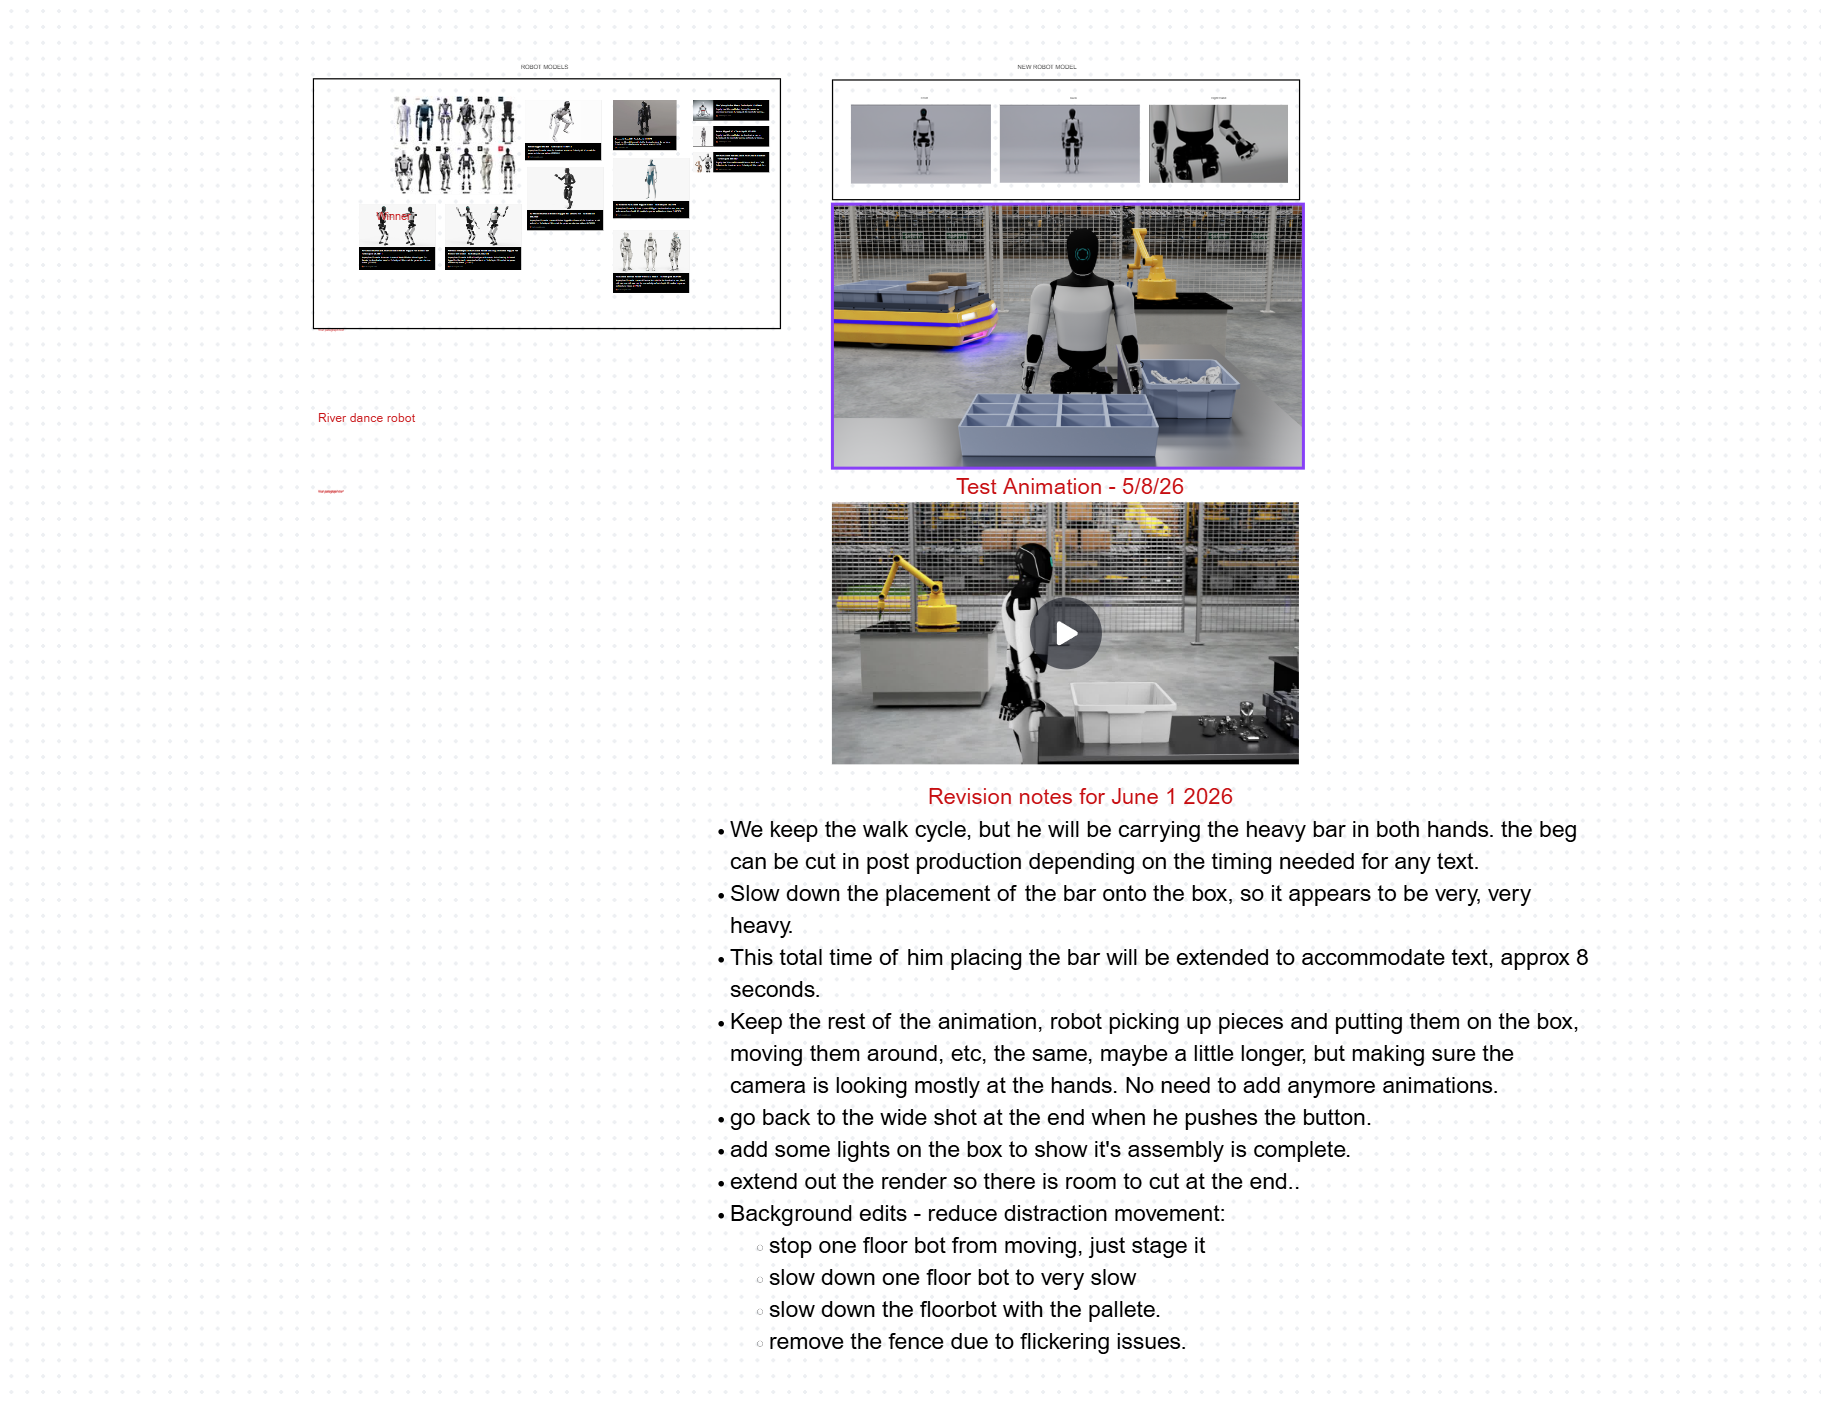
Every project begins with a story and a script. From there, I source the assets and begin building the visual world.
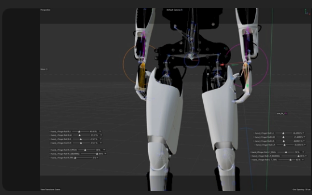
Asset Preparation & Rigging: After sourcing the robot asset, I prepared it for production in Cinema 4D by developing the materials and creating custom IK controllers for the arms, legs, body, and fingers. Hat tip "Noseman" for teaching me the advanced controller rigging system in Cinema4D"
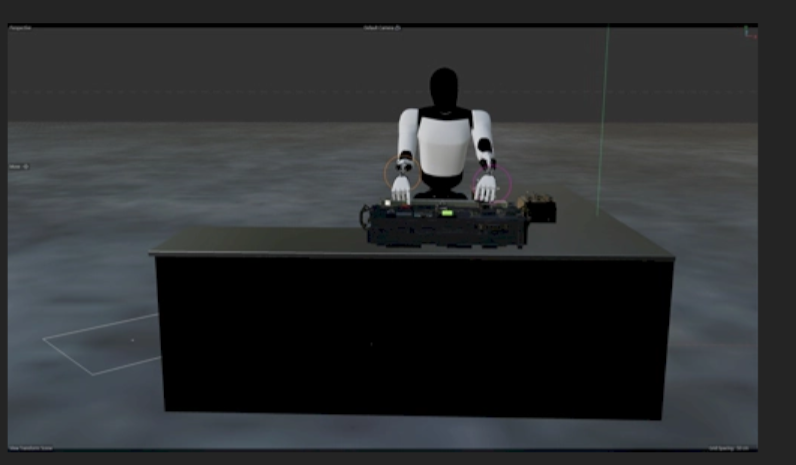
Blocking the Animation: Manual animation begins by blocking out simple movements, establishing the robot’s timing, poses, and overall performance before refining the motion.
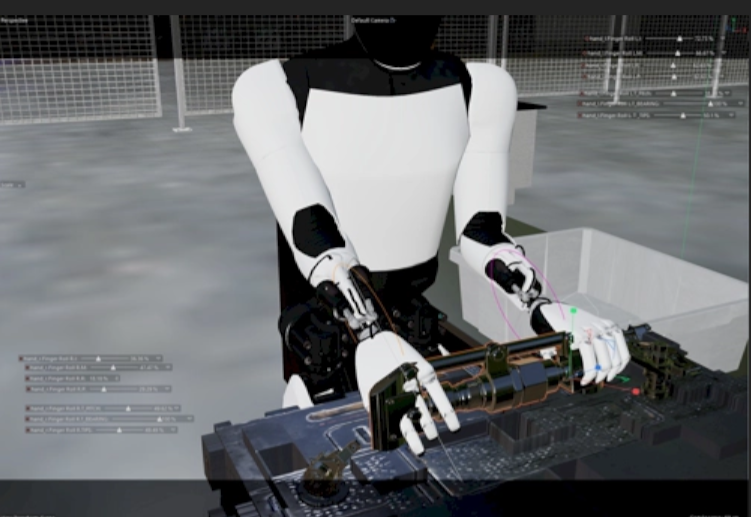
Building the Animation: As the animation develops, I add additional props and environmental elements while refining the robot’s movement, timing, and interaction with the scene.
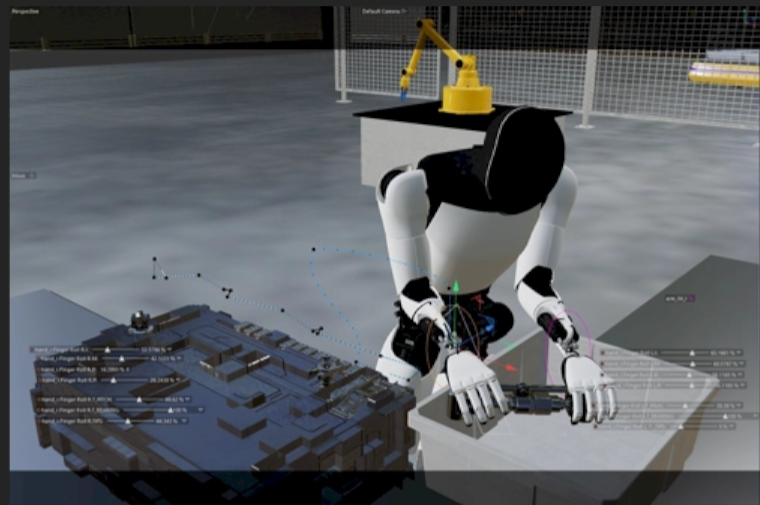
Adding More Movement: Once the primary motion is established, I add secondary movements and refine the animation to give the robot more personality, weight, and natural mechanical motion.
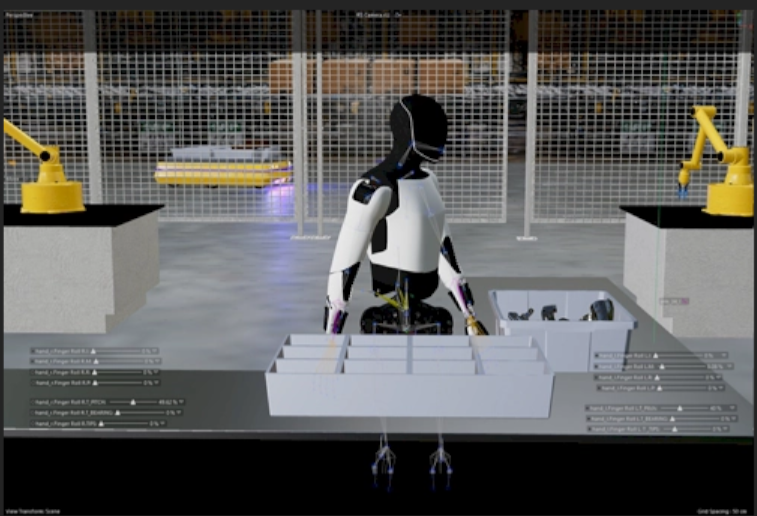
Establishing the Scene: Background elements are introduced to establish the scale and scope of the environment, helping define the robot’s relationship to the larger scene.
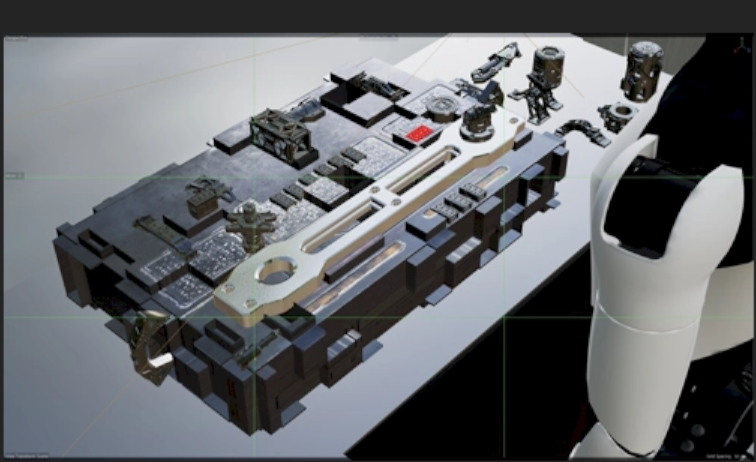
Expanding the Environment: Additional props are developed and placed throughout the scene, giving the robot more opportunities to move through, interact with, and respond to its environment.
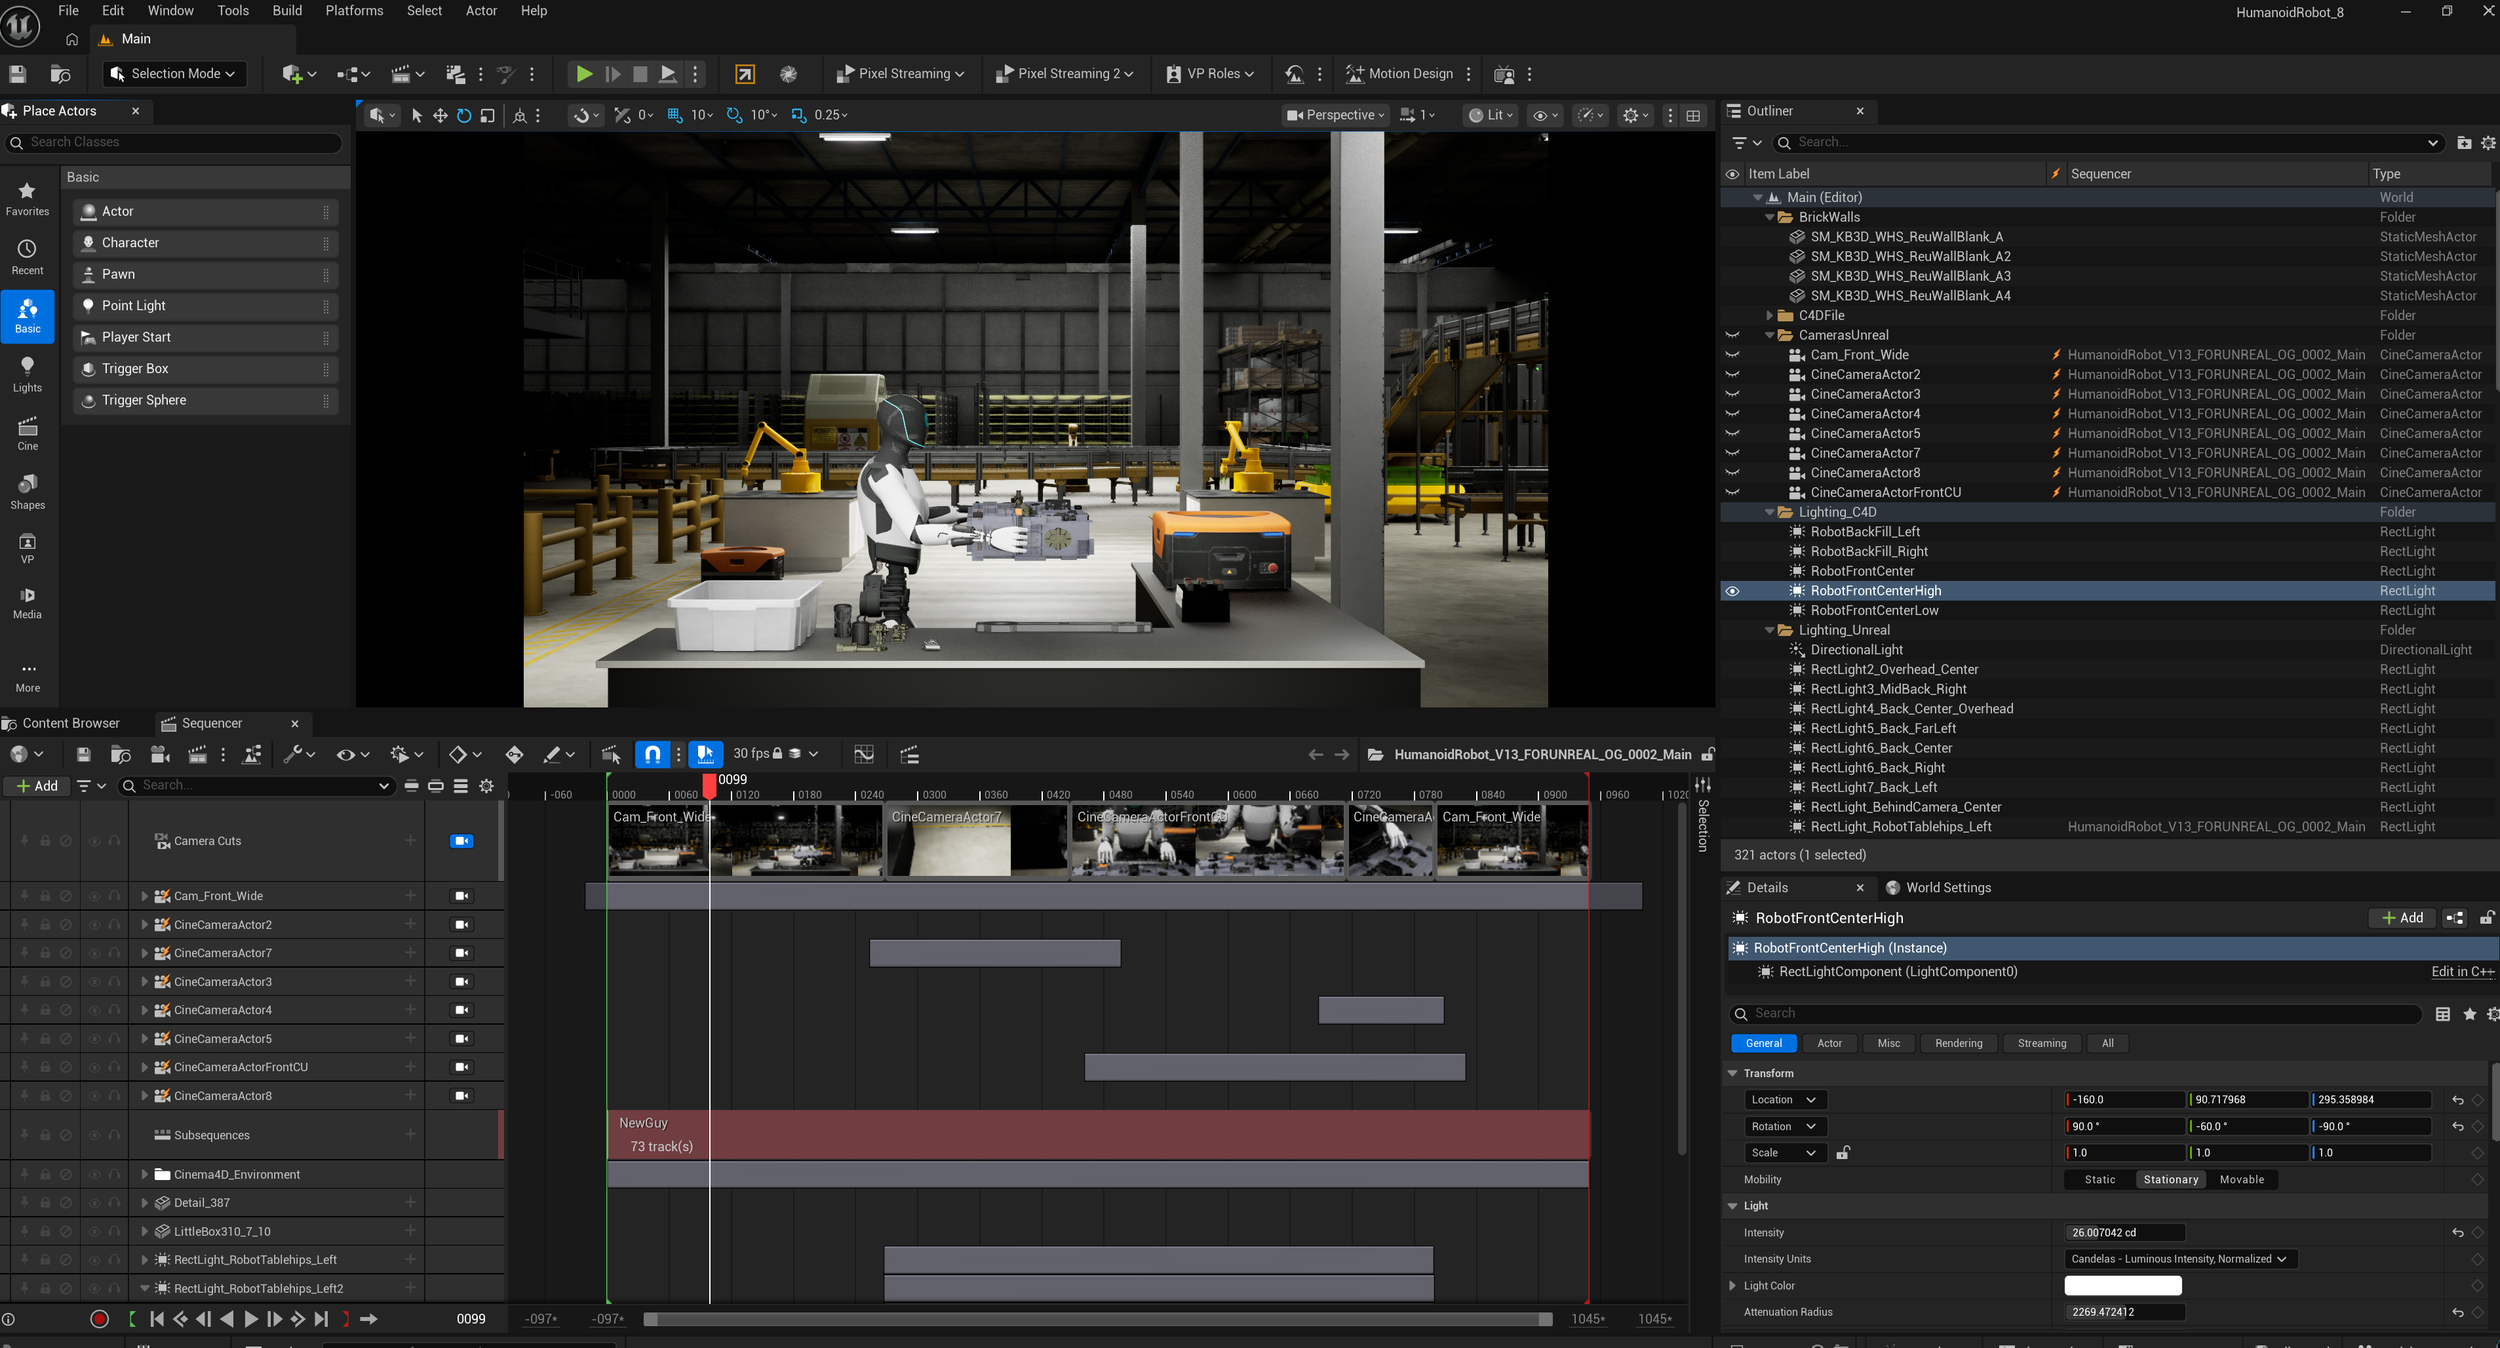
Moving into Unreal Engine: The project then moves into Unreal Engine, where I build out a complete factory environment natively in Unreal, expanding the original animation into a fully realized real-time 3D scene.
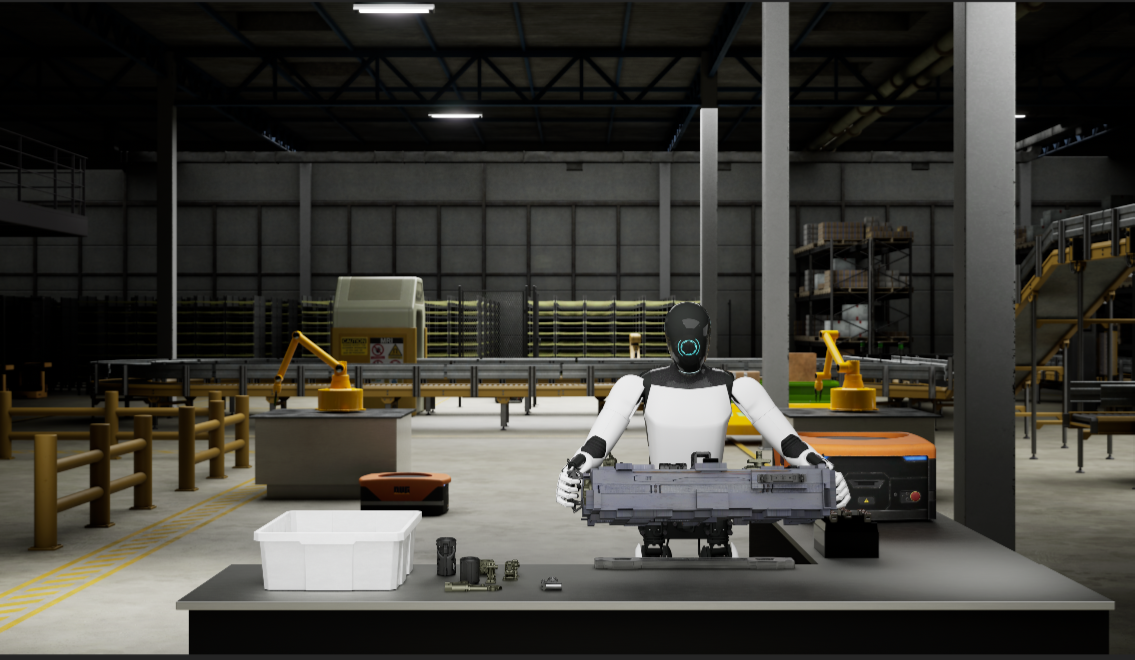
Polishing the Animation: In the final animation stage, I refine the robot’s movement, timing, and interactions, adding secondary motion and subtle adjustments to create a more polished and believable performance.
Preview of the Final Animation
“A preview of the full animation currently in development, bringing together the robot performance, factory environment, lighting, and real-time Unreal Engine workflow.”